Buying a Prepaid SIM Card After You Land
Buy a Korean visitor SIM with clear data, voice and validity terms. Check identification, airport pickup and compatibility before replacing your home SIM.
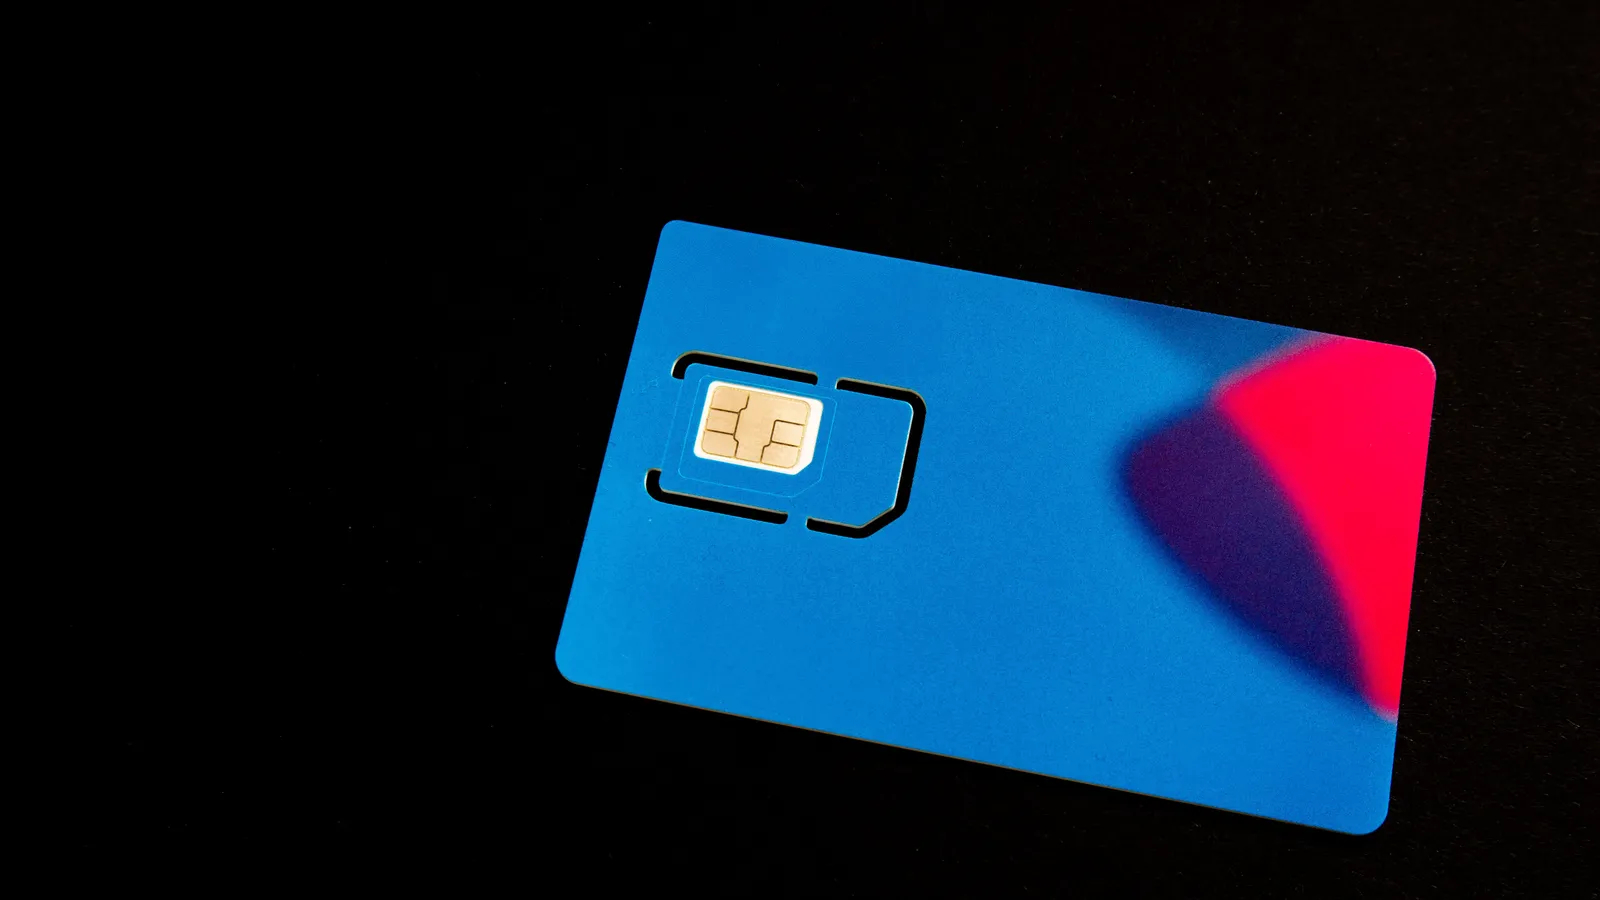
A physical SIM can be a practical option for a compatible unlocked phone. The useful purchase is the plan that covers your trip and the services you need, not simply the card with an “unlimited” label.
Choose the plan before the counter
Check the provider's supported devices and your phone's carrier-lock status. Confirm that the phone has an available compatible SIM slot. A phone can be unlocked without supporting every network or product, so ask about your exact model.
Use the KT visitor service as one official provider example, then read the terms of the exact product you intend to purchase. Compare validity, data speed or allowance, hotspot use, calls, texts, extension and cancellation conditions. A current checkout quote is more useful than a permanent price table.

Identification and number features
Ask what identification is required and bring the requested documents. Voice service can have additional activation or entry-confirmation requirements; KT describes provider-specific conditions in its visitor SIM information. Do not turn one provider's process into a blanket claim about every SIM seller.
A data plan, a Korean phone number, working voice service and resident identity verification are separate features. Tell the provider what you need to do. If a bank or shopping service requires resident identity matching, ask that service and the carrier whether a visitor plan qualifies.
Airport pickup checklist
Before buying, confirm the airport terminal, counter location, opening hours and what to do if your flight is delayed. Save your voucher and support details offline. A counter in a different terminal or a closed desk can complicate a late arrival.
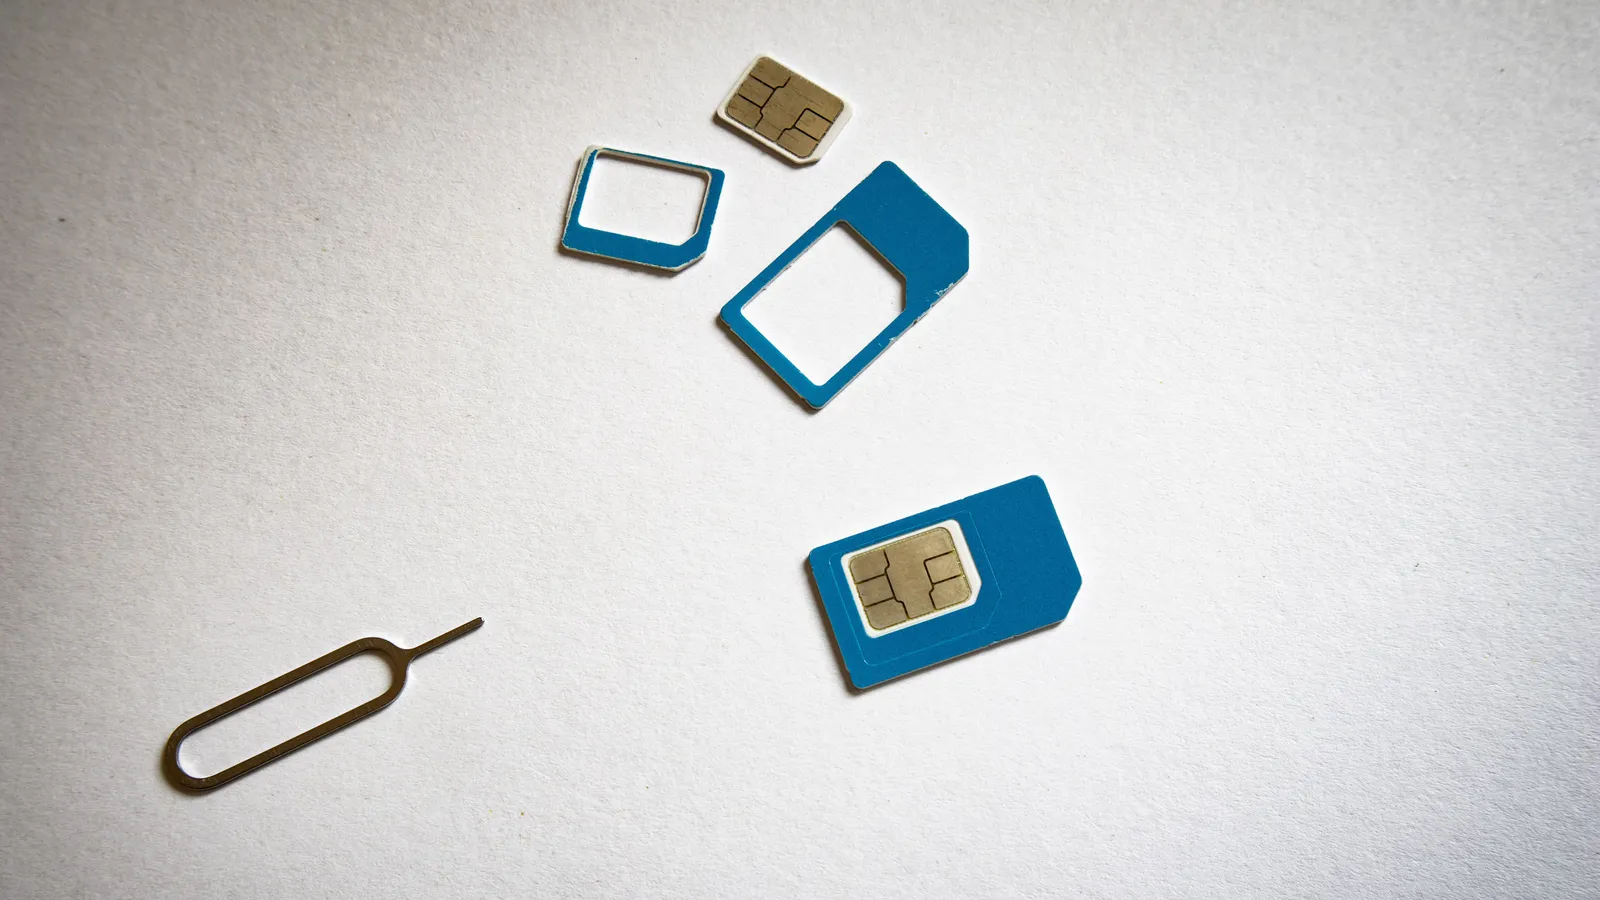
At collection, check the plan name and expiry conditions before replacing the card. Ask whether staff can help with installation and settings. Keep your home SIM in a secure labeled holder; it is easy to lose a small card during an airport swap.
Test before leaving
- Follow the provider's installation instructions.
- Confirm the correct line is selected for mobile data.
- Check the network or APN settings only as directed by the provider.
- Load a simple page or map with Wi-Fi disconnected to verify mobile data.
- If you purchased voice or SMS, ask how to confirm that feature is active.
- Record the support contact and validity end point.
Check home-line roaming settings if your phone retains another active SIM. Do not assume incoming calls or automatic data switching will be free.
If something fails
Show staff your purchase confirmation, phone model and exact error. A translation app can help you say “The SIM is installed, but mobile data is not connecting.” Let the provider confirm settings rather than guessing repeatedly.
For a longer stay, ask how registration or a resident plan differs from the visitor product. Our identity verification guide and connection comparison explain the separate questions to check.
Frequently asked questions
›Does every visitor SIM include calls and identity verification?
No. Data access, a phone number, voice service and resident identity verification are different features. Ask the provider about each feature before paying.
›When does the plan start counting days?
Read the exact product terms. Purchase, installation and first network connection can be different events; do not assume every eSIM starts only after landing.
›What should I compare before buying?
Check device compatibility, carrier lock, coverage, data allowance or speed policy, validity, voice and SMS options, hotspot rules and refund terms.
Sources and updates
Last edited on October 12, 2026. Sources support the specific details discussed in the guide; check the provider for current prices, availability and eligibility.